Customizing existing blocks
In this section, you will learn how to customize existing blocks.
You can add custom components to the existing blocks by following the steps below:
Let the current working directory be the packages/<package-id> folder.
- Open the
<package-id>/componentsfolder in your favorite text editor. If no components folder exists, create one. - Create a new file in the
componentsfolder and name it<Name your component>.js. For example,productTitle.js. - Add the following code to the file:
import React from 'react';
import { View, Text, StyleSheet } from 'react-native';

const productTitle = ({ attributes, clientId, ...props }) => {
    return (
        <View style={styles.container}>
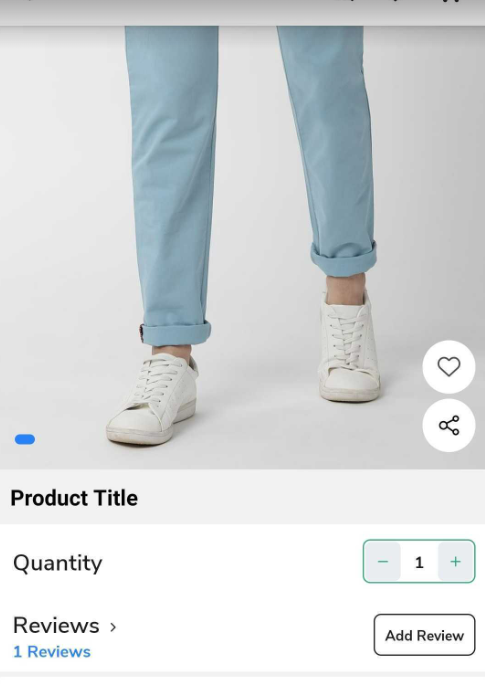
            <Text style={styles.title}>Product Title</Text>
        </View>
    );
};

const styles = StyleSheet.create({
    container: {
        padding: 10,
    },
    title: {
        fontSize: 20,
        fontWeight: 'bold',
    },
});
export default productTitle;
- Save the file.
- Open the
<package-id>/blocksfolder in your favorite text editor. If no blocks folder exists, create one. - Register the block in
blocks/index.jsfile. To register the block, add the following code to theblocks/index.jsfile: Let's take an example ofshopify-product-datablock.
import  productTitle  from '../components/productTitle';
const blocks = [
  {
   name: 'appmaker/shopify-product-data',
   View: productTitle, // The component to be rendered
  },
];
export { blocks };
- Save the file.
- Open the
<package-id>/index.jsfile in your favorite text editor. - Import the block in
index.jsfile. To import the block, add the following code to theindex.jsfile:
import { blocks } from './blocks/index';
sample index.js file
import { appmaker } from '@appmaker-xyz/core';
import { blocks } from './blocks/index';
export function activate(params) {
   console.log('Package Activated');
}
const Plugin = {
  id: '<package-id>',
  activate,
  blocks,
  //pages,
};
appmaker.registerPlugin(Plugin);
export default Plugin;
- Save the file.
Reload the app and you will see the changes.

You have now edited an existing block in your project.