Add custom blocks in product list view
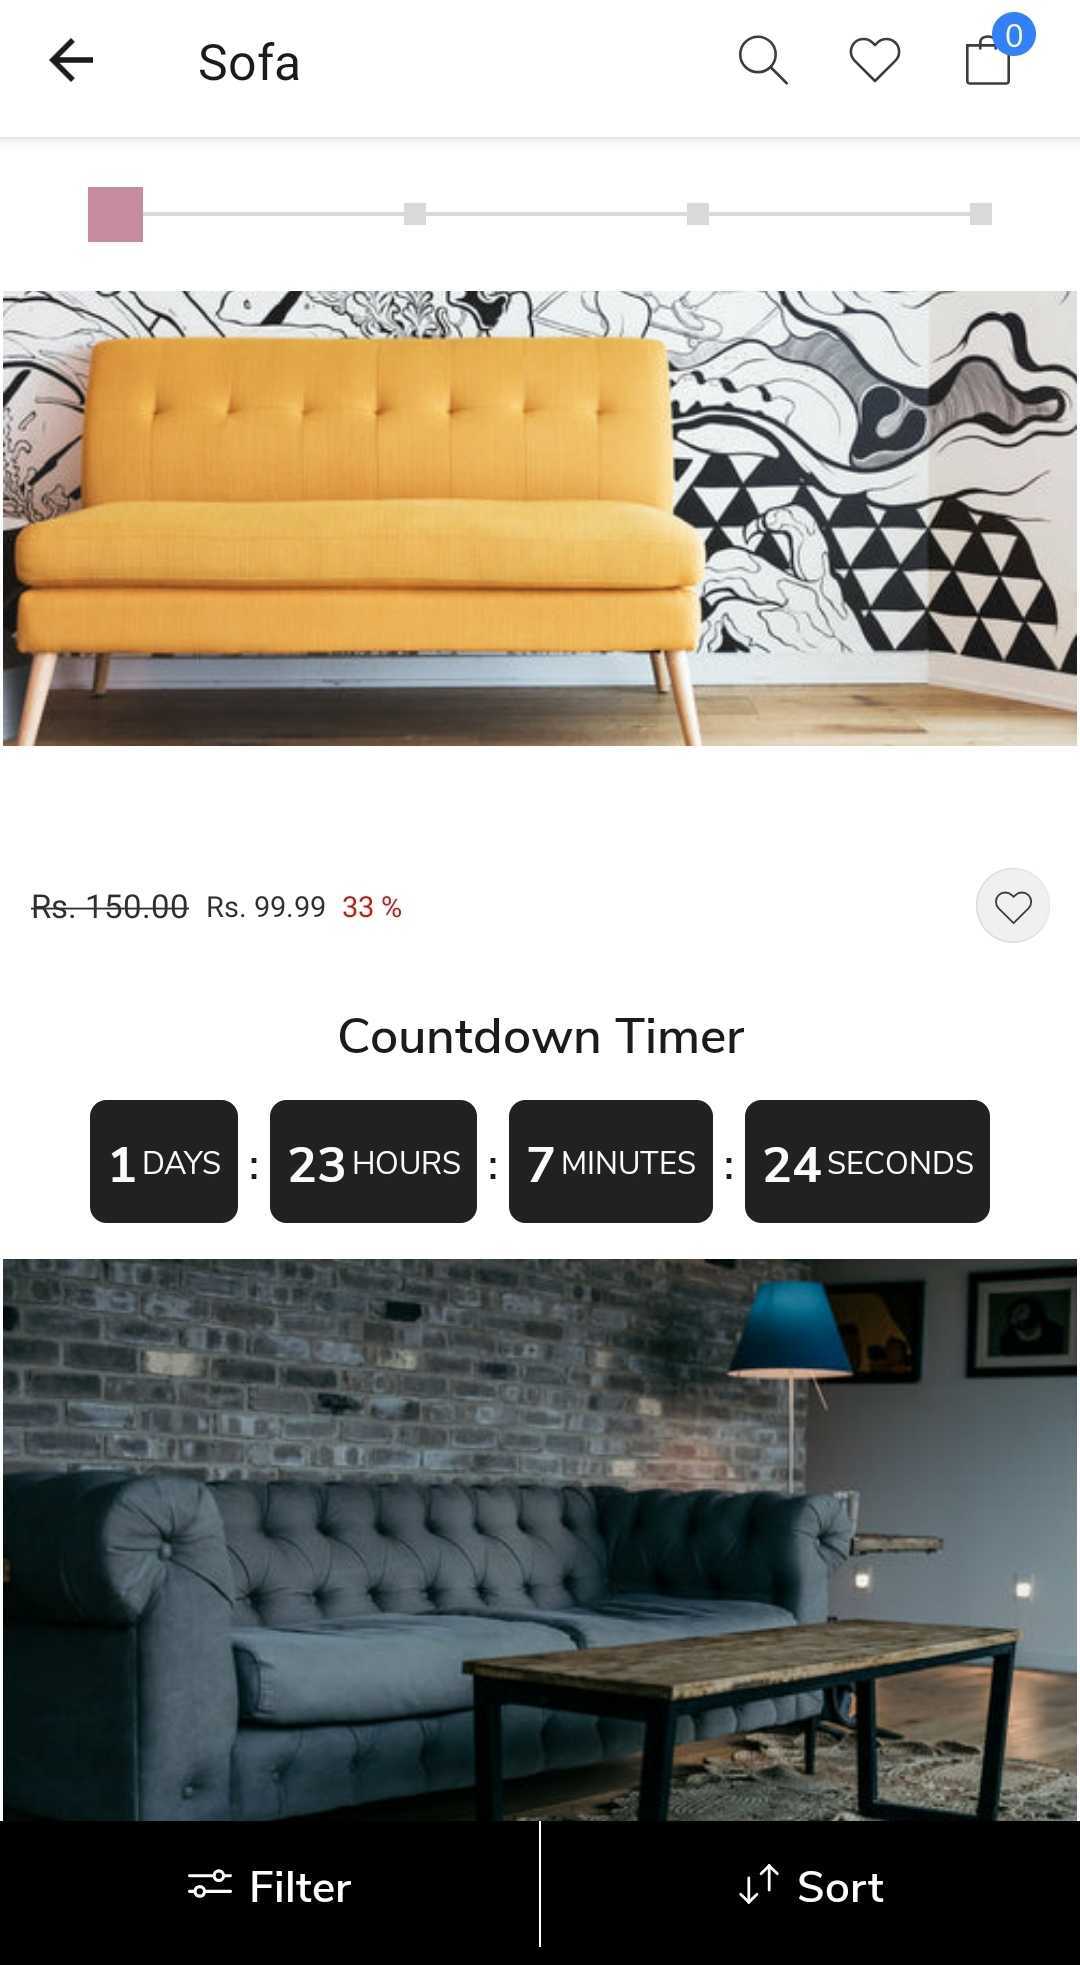
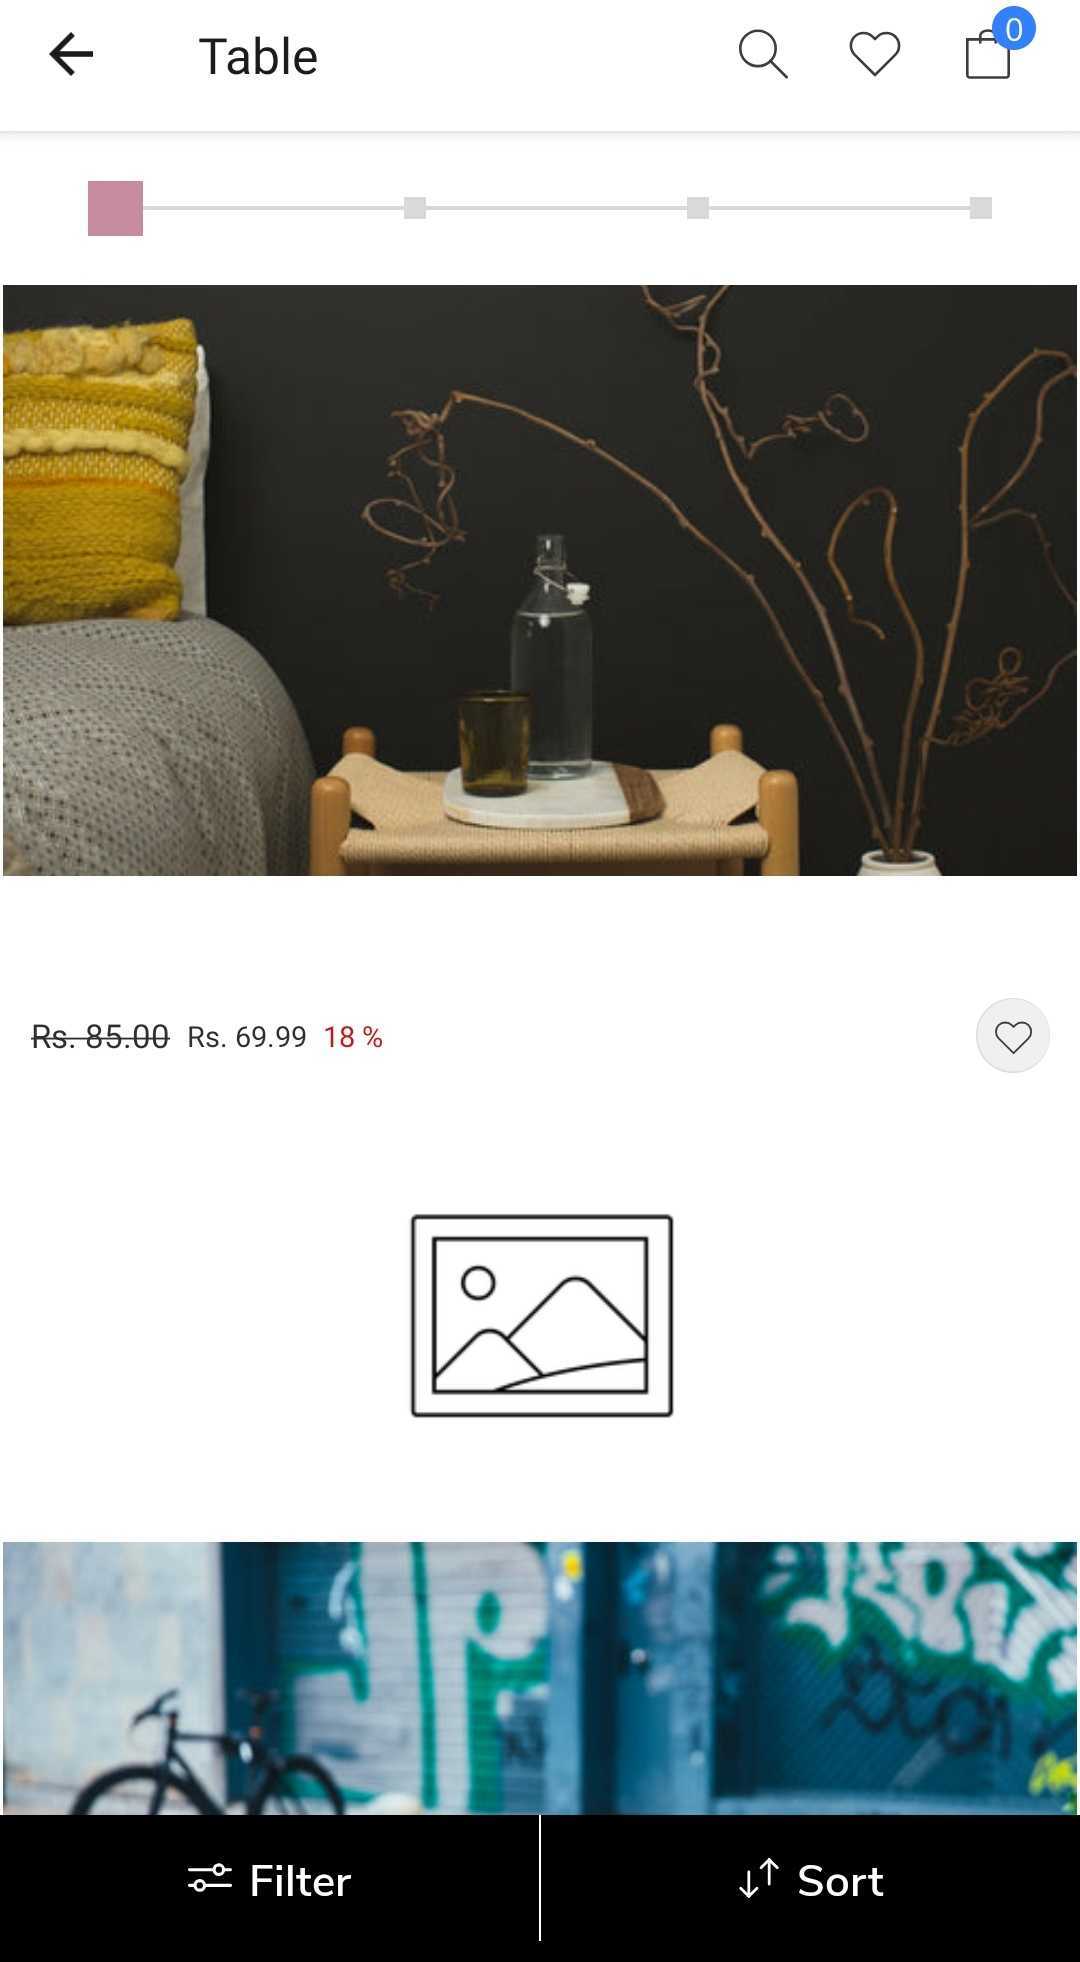
This guide will help you add custom blocks in product list view. Let's say you want to add a banner after every 10 products in the listview. You can do that by using the shopify-custom-collection-response hook.
If you are handling the products in product list page, you need to use the same hook to inject the custom blocks. The hook is shopify-custom-products-response.
Refer to Add custom blocks in product list page for more details.
Steps
Let's add a banner after every 10 products in the listview.
1. Modify the product data
First we need to modify the product data and inject the custom blocks in the response. Let's create a helper.js file and add the following code.
import { appmaker } from '@appmaker-xyz/core';
import { shopifyIdHelper } from '@appmaker-xyz/shopify';

export function activateBlocks() {
  appmaker.addFilter('shopify-custom-collection-response',
    `plp-blocks`, // namespace
    (response, params, dependencies) => {
      let ProductList = response?.data?.data?.collection?.products?.edges;
      if (!ProductList)
        return response;
      const collectionId = shopifyIdHelper(response?.data?.data?.collection?.id, true); // get the current collection id
      const addToCollection = '4105698563'; // set the collection id where you want to add the banner
      if (collectionId === addToCollection) {
        const block = {
          ___appmakercustomblock: {
            enabled: true,
            block: {
              name: 'appmaker/image',
              attributes: {
                title: 'Banner',
                description: 'This is a banner',
                url: 'https://cdn.shopify.com/s/files/1/0533/2089/files/placeholder-images-image_large.png?format=webp&v=1530129081',// image url
                width: 1440, // image width
                height: 593, // image height
                appmakerAction: { // action to be performed on click
                  action: 'OPEN_COLLECTION', // action type
                  params: {
                    collectionHandle: 'all', // collection handle
                  },
                },
              },
            }
          },
        };
        // inject the banner block after every 10 products
        list = ProductList.flatMap((product, index) => {
          if (index % 10 === 0) {
            return [product, block];
          }
          return product;
        });
        response.data.data.collection.products.edges = list;
      }
      return response;
    });
}
2. Activate the blocks
Activate the blocks by calling the activateBlocks function in the index.js file.
import { activateBlocks } from './helper';

export function activate() {
  activateBlocks();
}
3. Test the changes
Now, you can test the changes by running the app in the simulator.
Additional resources
Let's say you want to add a countdown timer in the product list view. Then you can replace the banner block with the following code.
const block = {
    ___appmakercustomblock: {
        enabled: true,
        block: {
             name: 'appmaker/count-down-timer',
        attributes: {
          title: 'Countdown Timer',
          description: 'This is a countdown timer',
          date: '2023-03-29T12:43:15.708Z',
          appmakerAction: {
            action: 'OPEN_COLLECTION', // action type
            params: {
              collectionHandle: 'all', // collection handle
            },
          },
        }
    },
  },
};