How to create Dashboard Block that can be managed from the Appmaker Dashboard
Description
This document provides instructions on how to create a block that can be managed drag and drop from the Appmaker Dashboard to the in-app pages. This is particularly valuable when you want to incorporate personalized elements into the app pages added and managed from the Appmaker Dashboard. The added blocks will be available in the Blocks section of the Appmaker Dashboard.
Create a block
Go to partners.appmaker.xyz and login with your credentials.
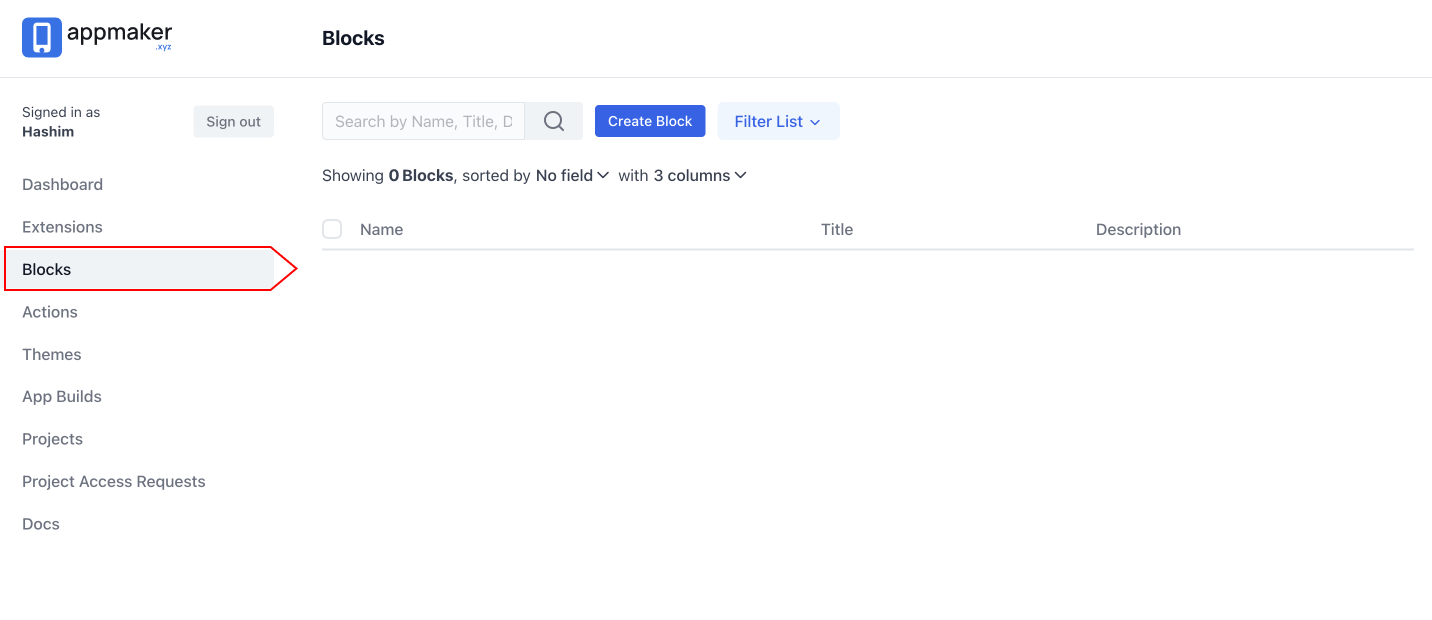
Go to
Blockssection from the left sidebar. Here you can add new blocks and manage existing blocks.Click on
Create blockbutton to create a new block.
Fill in the details of the block like name, title, description, Icon in the respective fields.
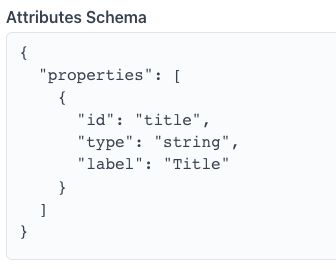
Field Name Description Example Name This will serve as the block's identifier in the code, allowing you to reference it. For example, if your theme package is named "theme-name," you should label the block as "theme-name/block-name." theme-name/promo-videoTitle This will be the title of the block, which will be displayed in the Appmaker Dashboard. Promotional Video Description This will be the description of the block. This block will be used to display the promotional video. Icon This will be the icon of the block, which will be displayed in the Appmaker Dashboard. Attributes Schema This will be the attributes schema of the block. This will be used to define the fields that will be available in the block. Refer to the Appmaker Form document for more details on the fields available for the attributes. 
Config This will be the Config of the block. This will be used to define the blocks that will be available in the block. Choose status of the block from the dropdown. You can choose from
Activeordraftstatus. If you chooseActivestatus, the block will be available in theBlockssection of the Appmaker Dashboard.Choose your desired package from the dropdown. The block will be available in the dashboard after enabling the package in dashboard. for example theme.
Click on
Createbutton to create the block.Now create the component for the block in your theme folder.
Example:
If you have created a block with name
theme/block-name, then create a component with nameBlockName.jsin thesrc/componentsfolder of your theme.src/components/BlockName.jsimport React from "react";
import { View, Text, Pressable } from "react-native";
const BlockName = (props) => {
const { attributes, onAction } = props;
return (
<View>
<Pressable onPress={() => onAction(attributes?.appmakerAction)}>
<Text>{attributes.title}</Text>
</Pressable>
</View>
);
};
export default BlockName;infoThe action you've executed on the block from the dashboard will be accessible through the
attributes.appmakerActionproperty. You can transmit this property to theonActionprop of the block component to execute the action.Register the component in the
src/blocks/index.jsfile of your theme.src/blocks/index.jsimport BlockName from "../components/BlockName";
const blocks = [
{
name: "theme/block-name",
View: BlockName,
},
];
export { blocks };infoAttributes passed to the component will be available in the
attributesprop.
Now you can add the block to the app pages from the Appmaker Dashboard and set the attributes for the block.
Check the app to see the block in action.
Create an inner block item
Create a block as mentioned in the above section. Name the block as
theme/block-name-inner-blockto understand it better.In
Configfield of the block schema, mention the parent block name as shown below.Blocks > theme/block-name-inner-block{
"parent": ["theme/block-name"]
}Go back to the parent block and update
Configfield of the block schema as shown below.Blocks > theme/block-name{
"innerBlockConfig": {
"allowedBlocks": ["theme/block-name-inner-block"]
}
}tipYou can create and add multiple inner blocks to the parent block by adding the block name in the
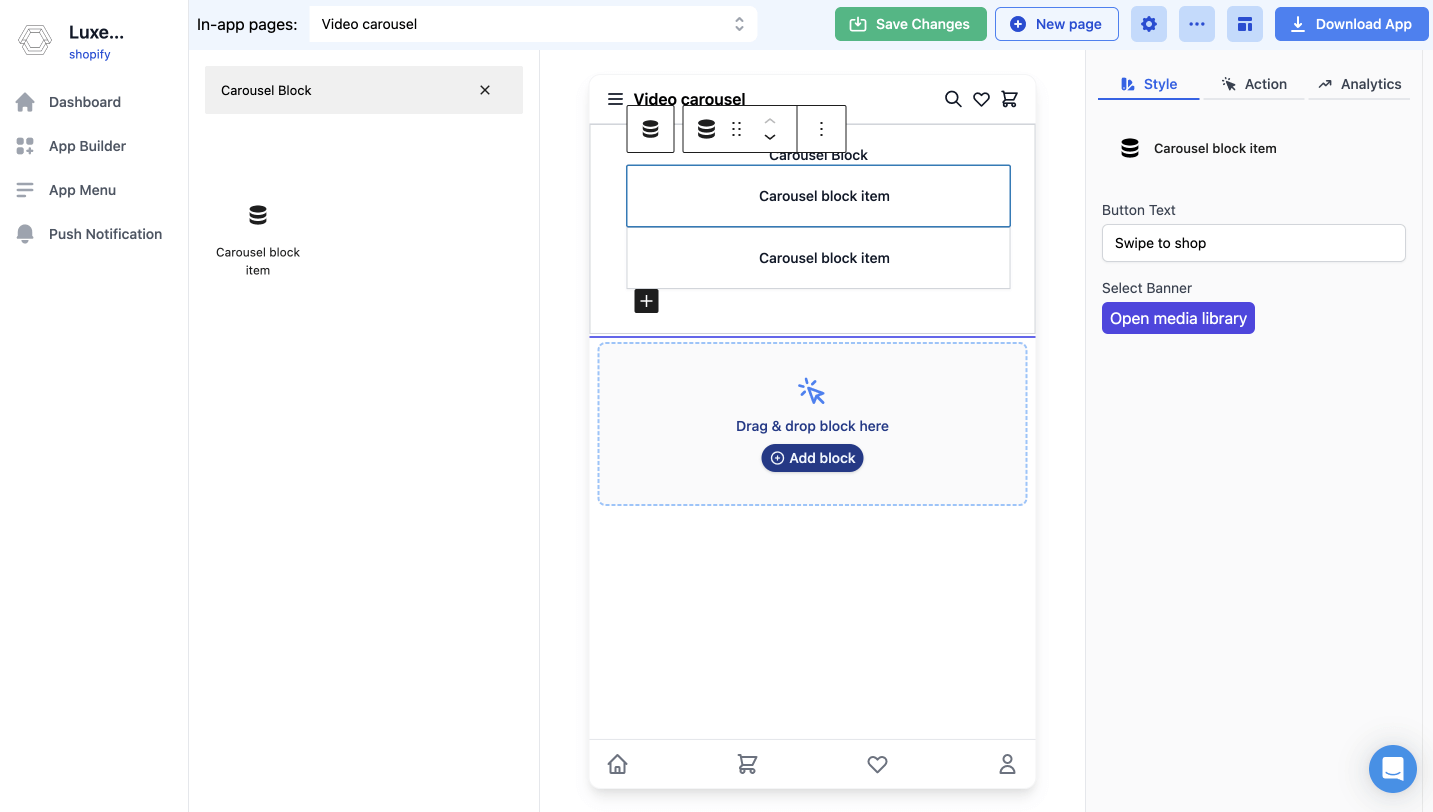
allowedBlocksarray.Now you will have a plus icon in the parent block to add the inner block item.

You can add multiple inner block items to the parent block.
Its not necessary to create/register component for the inner block item. The inner block item will be available in the props of the parent block component.
src/components/BlockName.jsimport React from "react";
import { View, Text, Pressable } from "react-native";
const BlockName = (props) => {
const { attributes, innerBlocks, onAction } = props;
return (
<View>
<Text>{attributes.title}</Text>
{innerBlocks.map((block) => {
return (
<Pressable
onPress={() => onAction(block?.attributes?.appmakerAction)}
>
<Text>{block.attributes.title}</Text>
</Pressable>
);
})}
</View>
);
};
export default BlockName;